With the weather heating up, you’re probably looking for plenty of ways to stay cool. And if you’re a homeowner, you may also be itching for a home improvement project that will help you enjoy your property, even more, this summer.
Sound familiar? If so, you’re in luck—there’s a solution that can knock both of these things off your to-do list, and with minimal time and effort required. Adding a pergola to your lawn will give the space an attractive focal point, and provide shade as well as a place to gather.

If you think it will be too difficult or time-consuming to build your own pergola, think again. The process can be completed in a single weekend, and the immediate benefits will last for years to come.
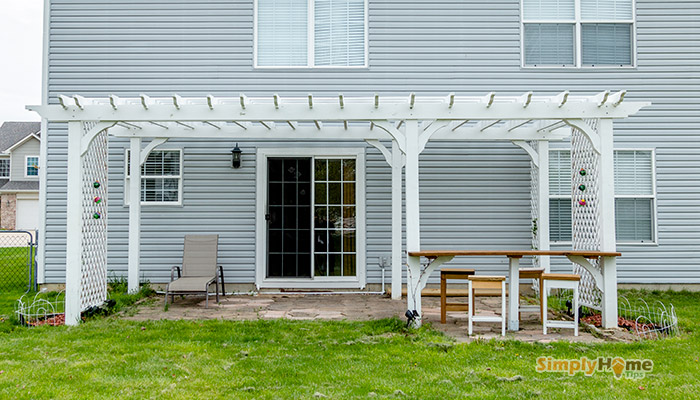
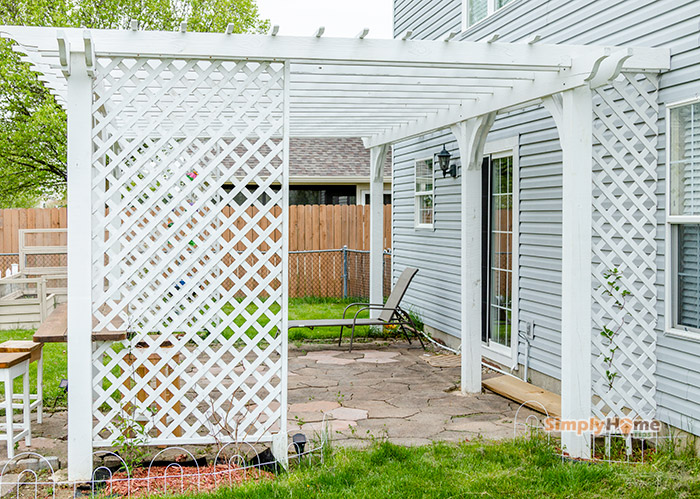
I already had a patio sized 20’x10, so I’m building a freestanding pergola sized 24′ x 14′ x 8′ to cover my patio. Keep in mind, these steps could work for any smaller pergolas, arbors, or trellis.
Plan Your Pergola
Decide on dimensions
Using a measuring tape for measuring the area where you will want to put your pergola and take note of a paper or phone.
Looking for pergola ideas
When you have your pergola size. Take a look at some pergolas at home improvement stores or online to have a general idea. If you find one which fits your style and back yard, take pictures or save the images.
Drafting your pergola
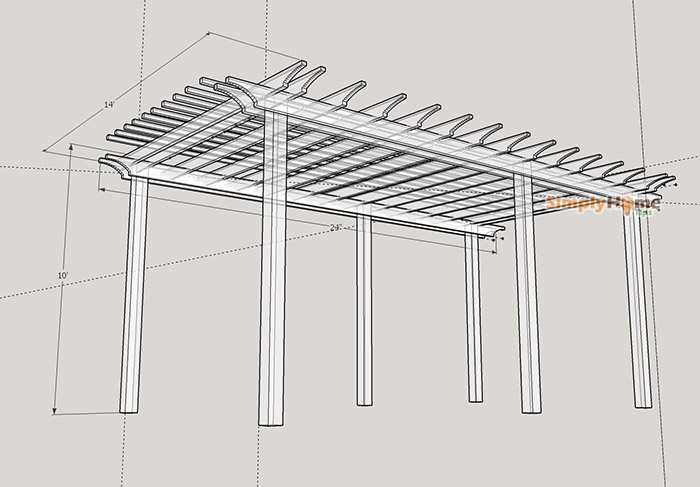
When drafting pergola ideas, keep the size and the flow of the space in mind. For this article demonstration example, we are considering a larger pergola measuring at 24 feet width, 14 feet deep, and 8 feet high. Use this as a guide and make any necessary adjustments to your measurements as you go along. So here we go.
Asking for permission if you live in a community
If you’re living in a community under HOA (homeowner’s association), you might have to ask them for permission to build your pergola. Depend on specific rules and regulations, you might need to draw a simple diagram of the construction target to submit along with other paperwork. Plan this ahead of time.
Materials Needed to Build a Pergola
Lumbers
A supply of high-quality, pressure-treated posts, boards, and beams (Ask the local hardware store for recommendations). Depend on your pergola style and size to find the exact numbers you will need. Here is mine which is sized 24’x14’x8′.
- 6 – 6″x6″ inches treated posts (10′ long) – Main posts
- 4 – 2″x8″ treated boards (24′ long) – Beams
- 18 – 2″x6″ treated boards (12′ long) – Rafters
- 30 – 2″x2″ treated lumbers (8′ long) – Lattice
Hardware and Supply
- Construction adhesive
- Galvanized or stainless steel drive screws (2″, 2 1/2″, and 5″ are all good ones to have on hand)
- Ready-mix concrete—16 40-pound bags
- External stain or paint (optional)
- Small concrete blocks
- Nails
- Screws
Tools
- Circular saw
- Jigsaw
- Miter saw
- Power tools
- Gloves
- Safety glass
- Tape measure
- Hammer
- Spray paint
- Paint brush
- String
- Pencil
- Drill
- Carpenter’s square
- 3′ level
- Shovel
- Digger or Powered Earth Auger
- Wheelbarrow
Before You Begin
This is a project that requires some advance preparation. First, check-in at the town office to be sure you’re not violating some type of zoning ordinance in adding a structure to your property. Different areas have different regulations, so it’s best to be certain, even if you already own the land.
Also, before digging the post holes, you should check with the local utility companies to ascertain that you won’t be hitting any underground cables or water lines.
Finally, be sure to use either galvanized metals or stainless steel for the best protection against the elements.
Build Your Own Pergola: A Step-by-Step Guide
1. Pergola end cuts
Measure and cut beams.
You’ll want the beams to extend about two inches beyond the edges of the pergola, so measure accordingly. It’s also possible to buy pre-cut beams and just shape the edges as desired. If you want to make your own following these steps below.
Steps for making your own pergola end cuts
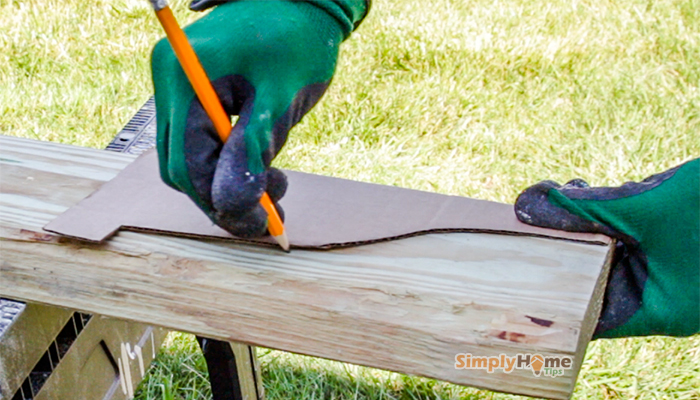
- Create templates for the beams: Using a carton paper with the width longer than the end cut, around 1 or 2 feet. Cut the same height size of your beams and draw any types of end cut you like. Cut it out with a scissor.
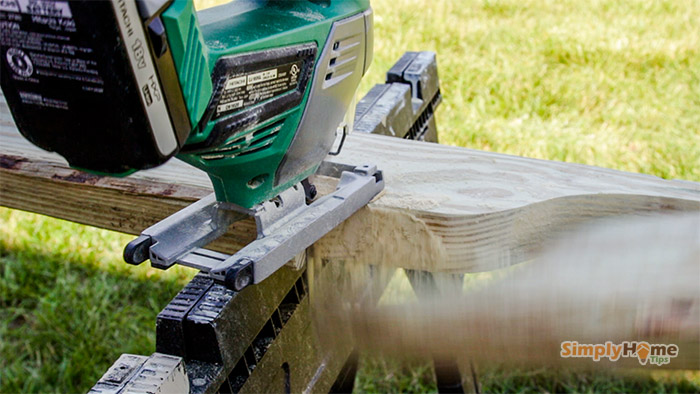
- After you have your template, simply apply it to your beams with a pencil. Repeat with all and cut them with a jigsaw.
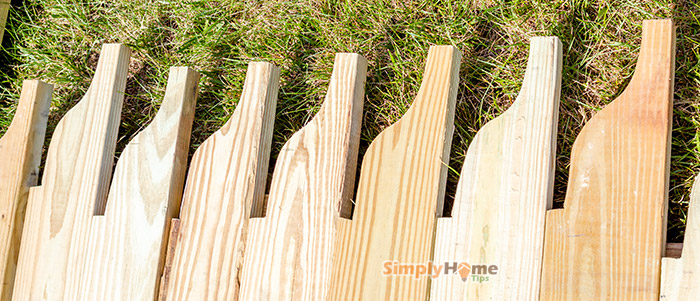
- Once the beams have been cut and shaped, measure and mark the spots where the rafters will go. This project assumes that there will be eighteen rafters spaced at one-foot intervals, but again, you can modify this to your own specifications. Be sure to measure out the width of the rafters to ensure even spacing.
3. Apply stain or paint, if desired
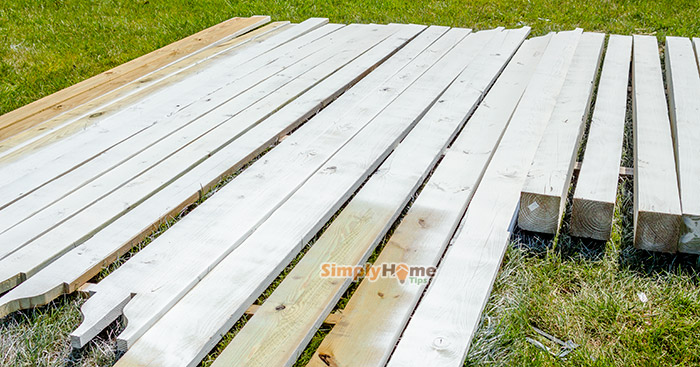
Depending on your materials, this may not be necessary, but it adds a nice finishing touch. Choosing any type of wood exterior paint, like siding, fence, or deck paint stain with your favorite color. and following manufacturer’s instruction. I’m going with all over white. So this process can be done both before or after finishing the building.
4. Mark out where the post holes will go.
Choose the most level patch of lawn that you can find. Measure out a 6’x6′ square, using a tape measure and marking the ground with a bullet of spray paint for each corner.
5. Build profiles for string lines.
A profile will help to ensure that the finished structure is both stable and level. To do this, create a footprint for the eventual posts using the 2×4 boards, placing two of them at a 90-degree angle from one another at each corner marker. (For a physical demonstration, see this video.)
Hammer two nails into each profile piece, in line with the corner markers, and run a diagonal string line between them. Measure the diagonals to ensure that the area is square. This will designate the area of your pergola.
6. Setting Pergolas Posts
Dig the post holes.
The posts for this structure measure 12 inches square, so measure the corresponding area of your profile and mark it off using spray paint.
Tip: The outside corners of the string lines mark the eventual outside corners of the posts.
Remove the string lines. Then dig the holes, ensuring that they’re at least two feet deep, or one-quarter the overall length of your posts.
Mix the concrete.
Using the wheelbarrow as a mixing bowl, add about 6 gallons of water to each 40-pound bag of concrete (you’ll need about 4 bags for each hole). Don’t add too much water, or the mixture won’t be strong enough to hold the posts in place. It should be about the consistency of peanut butter.
Another option is using fast-setting concrete. It costs more but with this type of concrete, you just need to pour it into the holes and add water directly with no extra mixing need.
Replace the string lines on your profile. Put concrete blocks at the bottom of each hole. This will give the posts a level place to rest off the ground.
Put in the posts.
Place the 6×6 posts atop the concrete blocks, using the string lines as a guide. Use the 3′ level to make sure that the post is level and aligned before adding the concrete.
Brace the posts with the 2×4 boards, attaching one board to the side of the post with a nail and securing the free end of the brace to a stake in the ground. Repeat with another brace, set at a 90-degree angle to the first. Repeat with all four posts.
Pour the concrete into the post holes. Using a stick or broom handle, “churn” the mixture to alleviate the formation of air bubbles. Be sure to leave about an inch of space at the top of each hole, to allow the concrete room to expand.
Let concrete dry for at least 24 hours.
Once the concrete is set, remove the string lines, profile, and braces.
7. Mark the height of the posts.
Using a tape measure and pencil, make a line at the 8-foot mark of each post.
8. Cut rabbets (notches) in the posts.
The notches or rabbets (known as a rebate outside of the U.S.) are grooves cut into the edges of the posts, where the beams will rest. It’s not necessary if you are building a small one (less than 10′). But it is a strong recommendation for a big one. The notches can make better support and the strong joint between the posts and pergola beams.
Mark the rabbet areas.
Using a nail, mark a spot 6 inches below the top of the post. (The beams and rafters will add to the finished height of 8 feet.) Use another board to find the corresponding spot on the next post, and repeat until all four have been marked.
Cut out the rabbet.
Use a circular saw to carefully cut out the rabbeted area, taking care not to slice too deeply (The depth should be around 3/4′ to 1′ ).
Check out this article for detailed-guide.
8. Install beams.
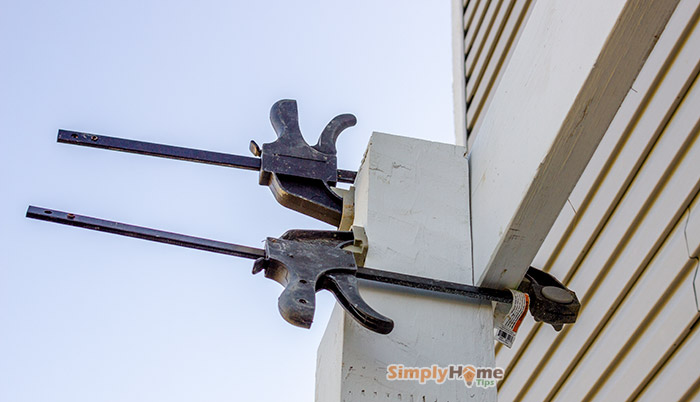
Place the beams in the prepared rabbets, using a clamp to secure them in place while you drill holes for the bolts.
9. Install rafters.
Once the bolts are in place and the beams secure, lay the rafters on the beams—the marking you put in place earlier will make this part a snap. Use a skewed nail on either side to secure the rafters. If you have one, a nail gun will hasten the process.
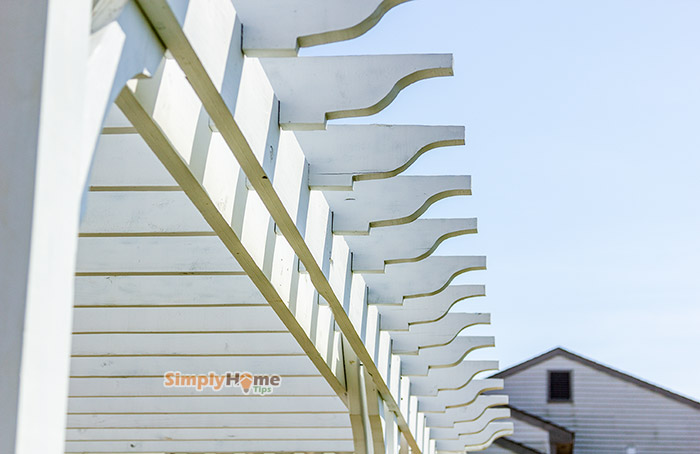
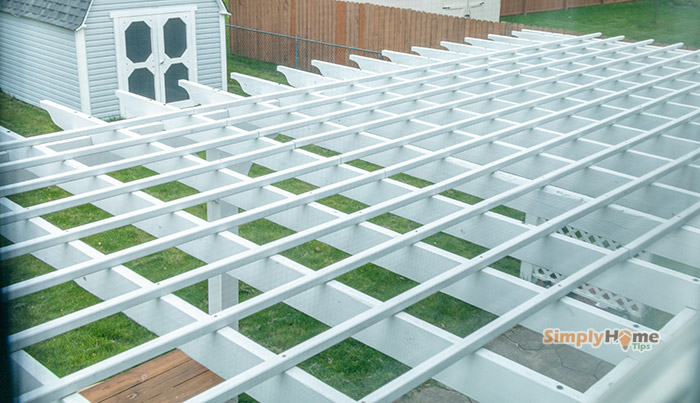
Now all that’s left for you to do is enjoy many happy afternoons beneath the shade of your hand-built pergola! Congratulations—you did it!
Leave a Reply