Notching, whether for decoration or to create a joint between two pieces of wood, can take a project from plain to professional. A variety of construction projects can be improved by using notches. Any time you want two pieces of wood to join flush together, a notch is the way to go.
This article gives you the information you need to quickly and easily notch wood.
Consider using notches for projects like:
- Arbors, trellis, or pergolas
- Bookshelves
- Side-table bases
Materials
To notch wood, you’ll need the following tools:
- Safety glasses and mask
- Framing square or speed square
- Measuring tape
- Clamps or vice
- Saw
- Chisel
- Orbital-Sande or Sandpaper (optional)
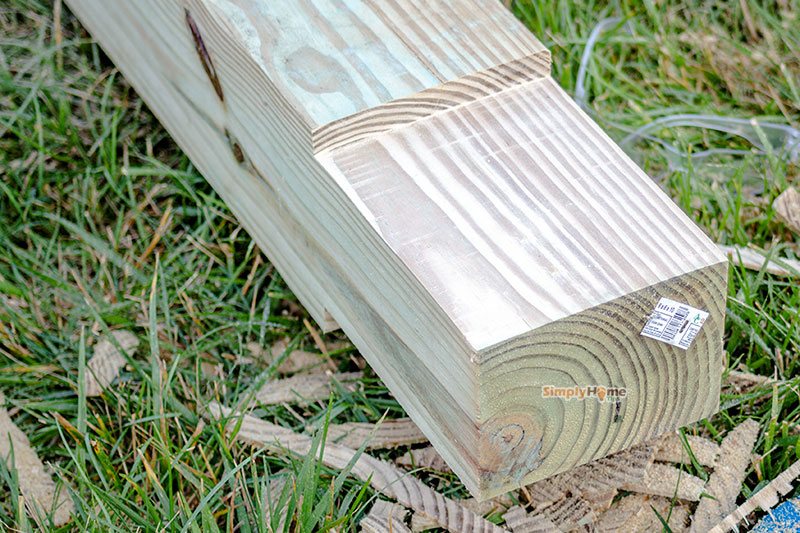
- And, of course, a piece of wood
Notching wood instructions
For a project where one piece of wood rests at the top of another, like the horizontal beam at the top of a large trellis, a two-sided notch is appropriate.
To protect yourself from dust and flying particles, be sure to put on a mask and safety glasses before starting to work.
Step 1: Measure
Measure and mark the wood you’ll be cutting. Use a measuring tape to mark the depth and bottom of the cut, and then continue the marks all the way around using a framing square to stay accurate.

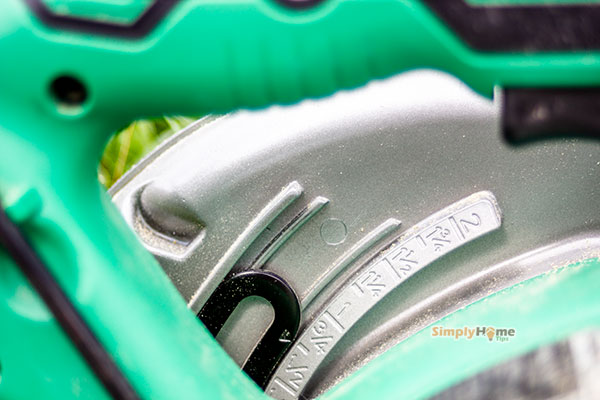
Step 2: Set your depth
The fastest way to make notches is with a circular saw. (You can use a hand saw, but that will take longer.) Lifting the guard and placing the blade flat against the side of your wood, adjust your blade height until it just barely “rests” on the depth line you created.
Step 3: Cross Cuts
Stabilize your piece by clamping it to a table or tightening it in a vice.
Start with one cut along the bottom line. Make sure to keep the saw flat against the surface of the wood. Don’t enter or exit the cut at an angle, or you could accidentally overshoot your depth. Take your time and be careful: this cut needs to be accurate.
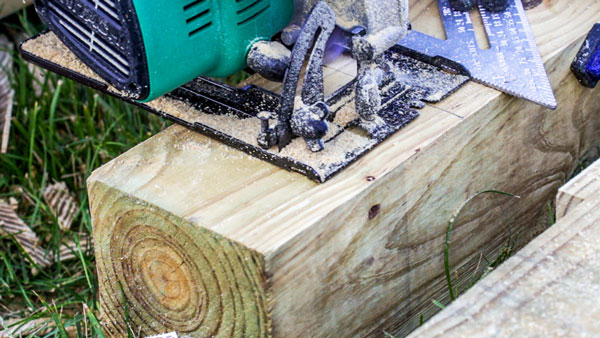
Then, make several cuts parallel to the bottom line at the top of the wood. Make these right against each other, so the wood peels out in a very small notch.
Continue making close parallel cuts between the top of the wood and the bottom line you marked. This part doesn’t need to be perfect.
You’ll need to make even closer cuts across sections with knots. Hard woods will need closer cuts, too.
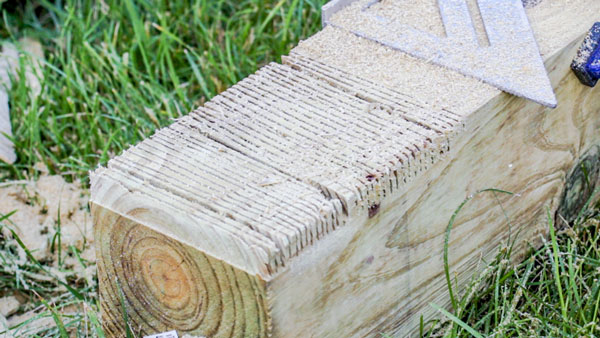
Once you’re done, tap out excess sawdust.
Step 4: Clear the Notch
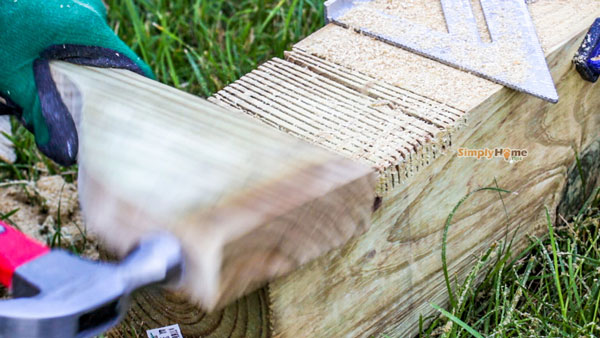
Now that you’ve made all your cuts, you can easily remove the wood slices from inside your notch area by hitting the wide sides of them with a hammer. That is, hit from the top of your piece towards the bottom line.
You can also use a piece of scrap wood and a sledge hammer with a short handle to speed the process along. Place the scrap perpendicular to your piece, and let it rest in the notch you made at the top after cutting the baseline. Hit the broadside of the scrap with the sledge hammer to break away the strips of wood filling your notch.
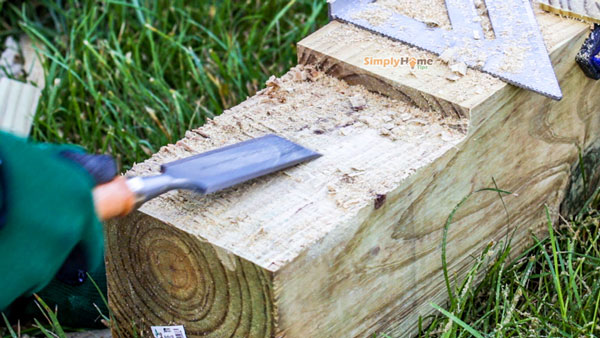
Step 5: Clean it up
Once the notch is made, take a chisel and use it to scrape your notch clean. Keep the flat side of the chisel flush to the wood! That will keep you from accidentally gouging your piece.
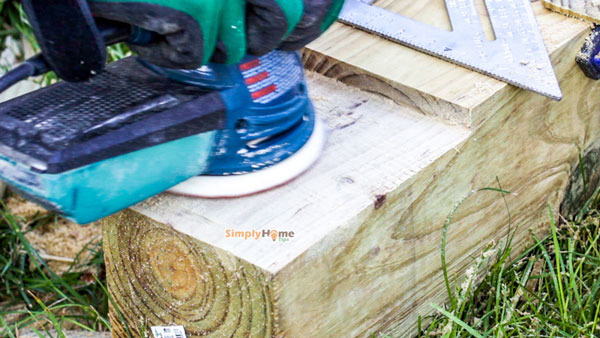
If you find there are still bumpy sections and it is a particularly delicate project, you can sand the rough parts down.
What about a Three-Sided Notch?
For a three-sided notch, like the one that you’d make for a lap joint at the base of a side table, the steps are almost the same. You’ll want to make both the base line cut and the cut at the top of the notch very carefully. After your multiple parallel cuts, you’ll have to chisel carefully from the side rather than simply knocking the pieces away.
To Summarize:
- Measure and mark
- Set saw depth
- Cut the bottom and top lines
- Make parallel cuts from top to bottom
- Knock/chisel out wood slices
- Chisel your notch smooth
Leave a Reply