What do you do when your car needs a battery change, and your mechanic is miles away? What if your car is stopped at the middle of the road only to realize that your battery is dead. Do you panic and sit there stranded? I’d say get to work and fix it.
The only thing you should be worried about is whether you have the right tools with you. The rest of it will fall in place once you start working on that car. Once you have all of that, other things you need is the zeal and determination to fix that battery.
What do you need?
• A charged or new battery
• Battery terminal puller
• Battery cleaning tools
• Safety glasses
• Gloves
• Battery carrying strap
• Grease
• Open wrenches or ratchets
How to remove the battery
1. Put on protective clothing and secure a working area
Replacing a car battery is a messy job. You don’t want to stain your best clothes with grease and dirt from the car. Put on an apron or clothes that you wouldn’t mind soiling.
The battery also contains a sulphuric acid electrolyte solution that could be harmful to your skin. Arm yourself with the protective glasses and safety gloves. Also, make sure the working area is away from flammable objects and not on the road as well.
2. Locate the new battery
In some cars, the battery will not be in plain sight like the hand brake. If yours is this type, you can check under the rear seat, inside the fender of the wheel or in the trunk under the mat. The point here is to find the battery first.
The ease of removal mainly depends on where your car’s battery is located. The more hidden it is, the harder it will be to remove. Good thing is that even with a hidden cell, the removing procedure won’t change.
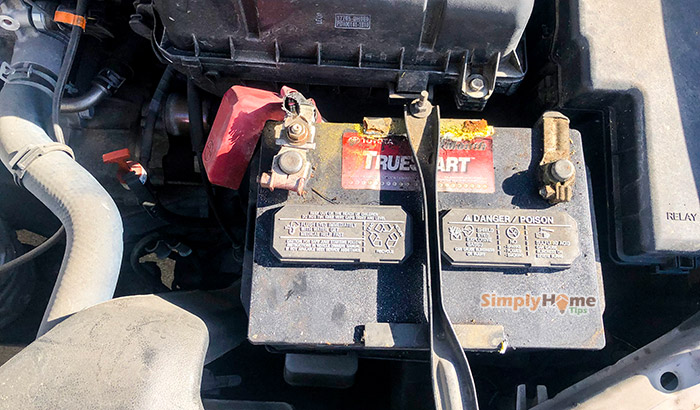
3. Look for the battery terminals
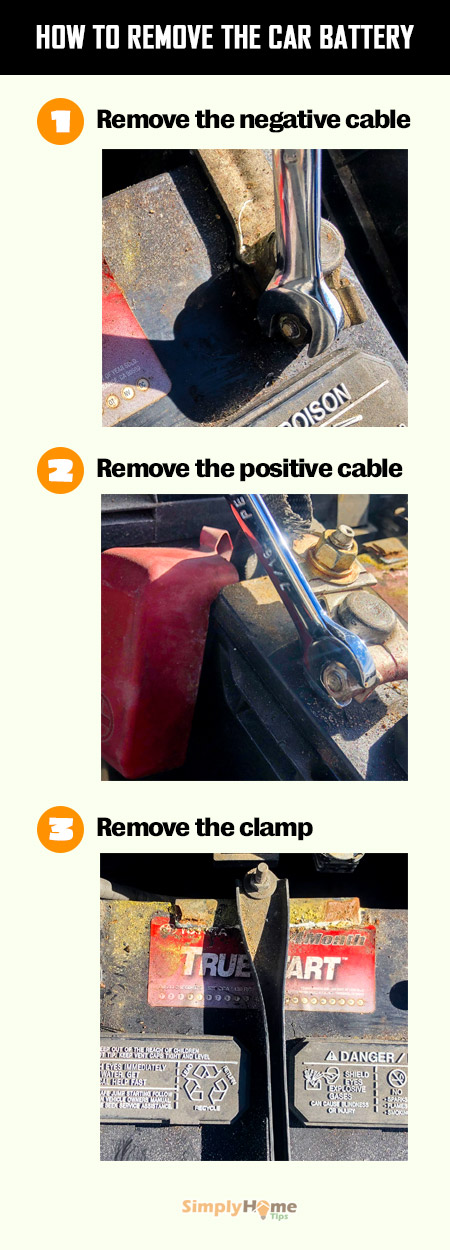
Battery terminals will have negative and positive signs printed or stamped on either side of the battery. Make sure you identify them on the car battery you want to replace. Use the wrench to disconnect the negative cable clamp first and do the same to the positive terminal.
This is the point where you need to be extra careful not to have the whole neighborhood blazing. Don’t let the wrench touch both terminals at the same time. You should also check whether there are any metal objects near the battery posts. Extra caution is needed to make the process a success.
4. Remove the battery
For you to remove the battery from the car, you have to make sure that everything that was holding the battery to the car has been unfastened. After completing this step, you should put those parts in a safe place for easy access when placing them back. That includes any screws, bars or clamps.
Lift the battery from the car and put it away. The battery is usually substantial. You could ask for help if you cannot comfortably lift it from the car. It is also advisable to use a battery carrying strap but only when the posts are at the top part of the battery.
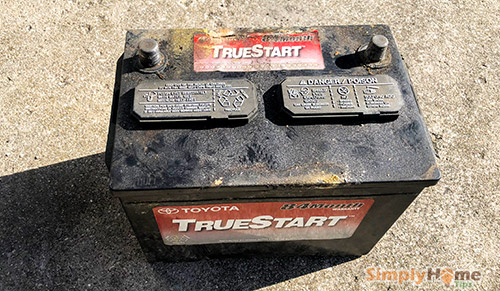
The used battery should not be disposed of like regular garbage. Take it to a supply store or the garage where you service your car.
How to reconnect the battery
1. Clean and dry the battery tray
There could be corrosion or dust where the old battery sat. Use the cleaning tools you have to brush that corrosion before you insert the new battery. Use a wire brush or a terminal cleaning tool if you have it. The connection is better when the battery is clean.
You can also use sandpaper to clean the terminals and leave them all shiny and free of corrosion. All this while your gloves are still on your hands. Safety is paramount when handling corrosive things.
2. Place the battery
After the battery tray and the clamps have dried up, you can now place the new battery. Make sure you put it correctly where the positive and negative terminals are not mixed up.
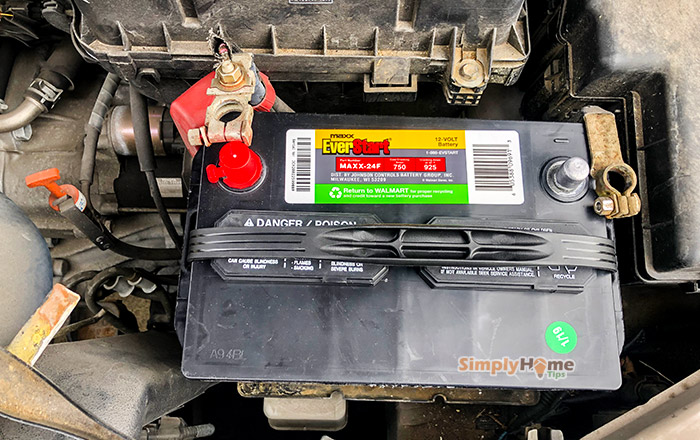
When replacing the new one, you should always start connecting the positive terminal first. The battery posts could be secured with plastic caps. Remove them before joining the terminals.

Once the terminals are moderately tightened, you can place back all the screws and bars that you removed. The clamps should also be tightened well to hold the new battery in place.
3. Apply grease
As a preventive measure, it is essential to apply lithium grease to the battery terminals. This makes the battery safe from future corrosion.
However, do not go overboard with the grease. Just apply enough to serve its purpose. All you need to do is make sure the entire surface of the terminal is covered. You can improvise with jelly as well.
4. Close the hood
Once the work is correctly done, you can close the hood of the car and get ready to test it. Start the car and confirm that everything is working correctly. With that done, give yourself a round of applause for a job well done.
You see, replacing a car battery is not rocket science. All you need is this guide and your least favorite outfit. The next time the battery pulls a bad one on you, just park it on a flat surface away from traffic and get down to work. In about 30 minutes you’ll be all set.
Don’t be one of those people who doesn’t want to learn how to do things on their own. Doing some of these things for yourself is quite fulfilling. The first time could be challenging, but then after that, it will be super easy.
By now you should be able to replace a battery without any help. If you follow this guide to the letter, you won’t be paying for auto mechanic services any time soon. Save that dollar for a more challenging task.
Leave a Reply