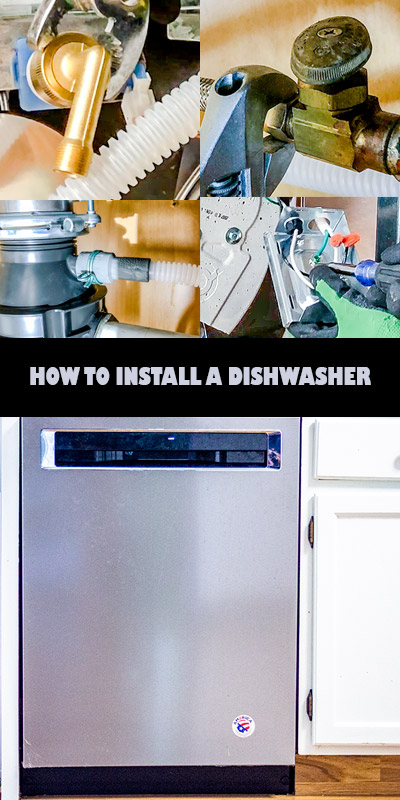
When it comes to doing things yourself around the home, there are certain tasks that are always best left to the professionals. One maintenance task that is relatively easy and doesn’t require a great deal of experience, however, is changing out a dishwasher. Here is a quick and easy guide to installing a dishwasher in 5 easy steps.
What you will need:
- Dishwasher power cord
- Dishwasher water supply hose
- Hole saw drill bit
- Level
- Screwdriver
- Pliers
- Plumber’s wrench
- Plumber’s strapping or stainless steel tube clamp
- Copper tubing
- Tube cutter and tubing bender
- Safety glasses
- Pencil
- Compression fittings
- Wire nuts
1. Prep the space
Before you begin:
- Turn the power off at the main breaker box
- Turn off the hot water supply under the sink

If you are replacing an older semi-integrated dishwasher with a newer flush-front model, you’ll need to drill a new hole in the side of the cabinet. The hole should be a few inches up from the floor and a few inches in from the back wall. If you are replacing a semi-integrated dishwasher with a semi-integrated dishwasher, you can use the existing holes.
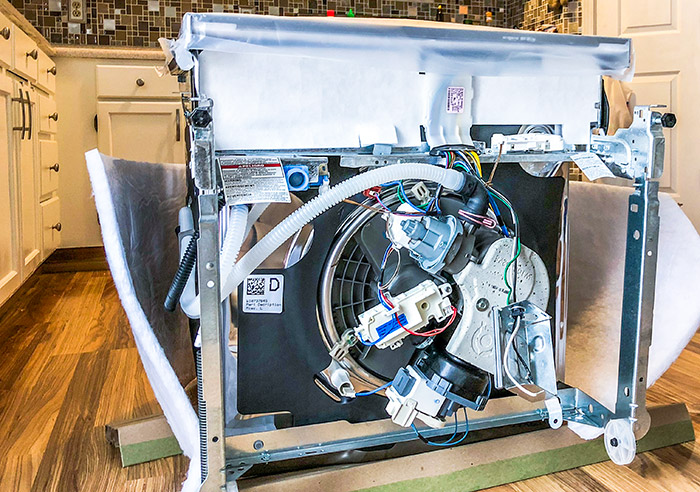
Take the new dishwasher out of the box and place it close to the bay with the back accessible. There should be 3 connections: a water supply, a drain line, and an electrical hookup. If you are installing a semi-integrated model, the connections you need will be located at the bottom of the dishwasher behind the front access panel.
2. Attach the water and drain lines
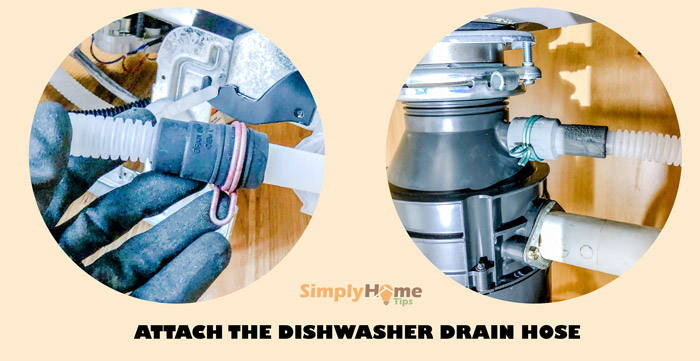
Take the cap off the drain line connection and attach the drain line. Dishwashers are all tested at the factory, so don’t be alarmed if a bit of water runs out when you remove the cap. Using pliers, crimp the clamp around the hose to secure it.
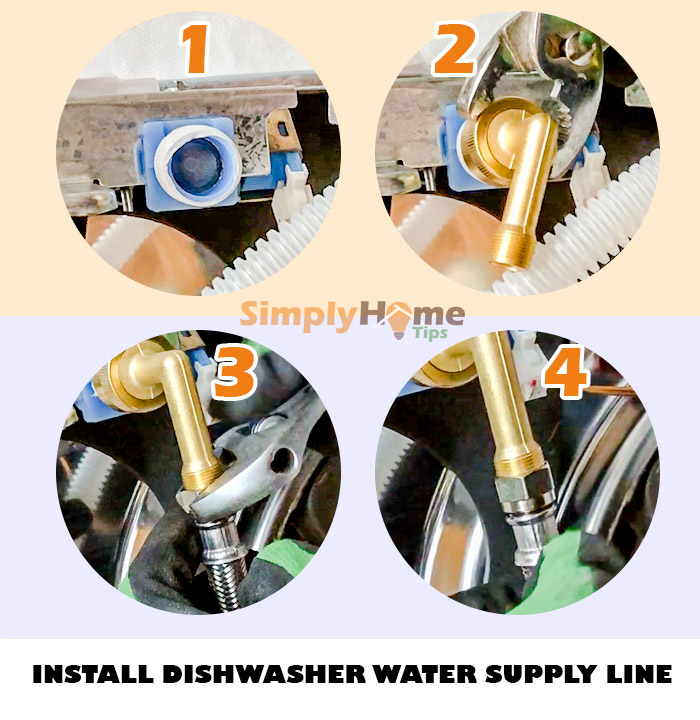
If you are using the standard supply line, wrap teflon tape around the water inlet. Then screw on a right angle (90 degree) elbow and use a wrench to tighten it until it is fully secure. Attach the water supply line to the elbow. If you are using copper tubing, use a tubing bender to bend the copper line into a 90 degree angle. Cut the tubing to length and attach it to the water inlet using a compression fitting.
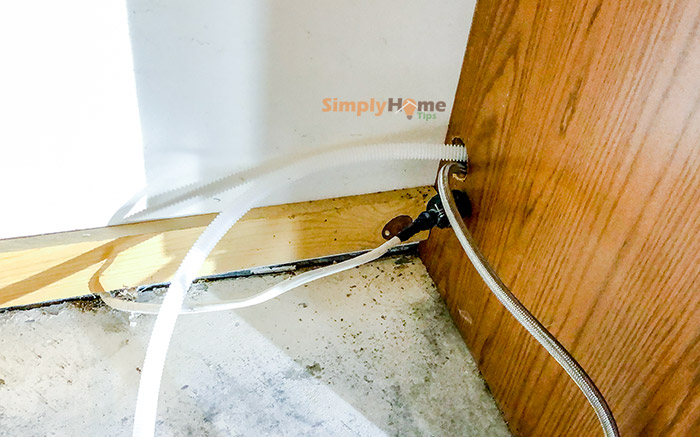
Thread the water supply and drain lines through the hole in the side of the cabinet into the sink bay.

Attach the drain line to the sink drain or garbage disposal.
You will want to secure the drain line high up to keep waste from backing up and draining right back into the dishwasher. There are two ways you can do this:
- Use a piece of plumber’s strapping to secure the drain pipe to the top of the cupboard behind the dishwasher
- Use a stainless steel hose clamp to attach it to the side of the garbage disposal
3. Attach the power lines
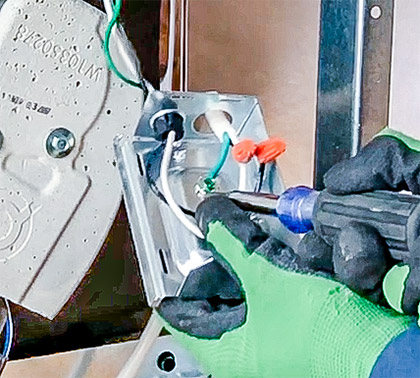 Run the electrical wires into the back of the dishwasher’s electrical box and attach them to corresponding wires coming out of the dishwasher (white to white, black to black) with an electrical wire nut (plastic cap). Attach the green grounding wire to the ground screw on the electrical box. Tuck any excess wire back into the electrical box. If the dishwasher comes with a power cord, you will need to thread the power cord through the cabinet and plug it into the outlet located under the sink.
4. Install and secure the dishwasher
Some dishwashers have channels or guides on the bottom for the water and electrical lines. Check the bottom of the dishwasher and tape the water and electrical lines into place where the channels will glide over them when you install the dishwasher into the bay.
Slide the dishwasher under the counter. If you haven’t taped down the water and electrical lines, take care not to crimp either one. You may want to have someone help you feed the slack through the cabinet while you slide the dishwasher in place.
Using a level, adjust the height and level of the unit by screwing the threaded feet in or out to raise or lower either or both sides of the dishwasher. Also be sure the dishwasher is raised high enough to sit level with the countertop. Mount the front panel on the dishwasher unit the provided hardware.

5. Turn power and water back on, test and secure dishwasher
Once the dishwasher is in place, turn the power back on at the breaker and turn on the water supply. Run the dishwasher through a full cycle to make sure everything is working properly. If everything seems to be in order, then attach the dishwasher to the countertop using the mounting brackets that came with the unit.
Leave a Reply