When it comes to making your home beautiful you don’t have to go to extremes and spend a lot of money. You can take little steps that give your spaces a fresh new look for a fraction of the cost.
Let’s take a minute to look at some easy ways to give your kitchen cabinets a new look for less than a couple of hundred dollars. You can easily do this cabinet upgrade in a weekend in most cases. The best part is that you usually do not have to remove the doors or drawers from the cabinets in order to do this type of upgrade. You can drill your holes and mount the hardware with the doors and drawers still in place. This makes your upgrade faster and more convenient.
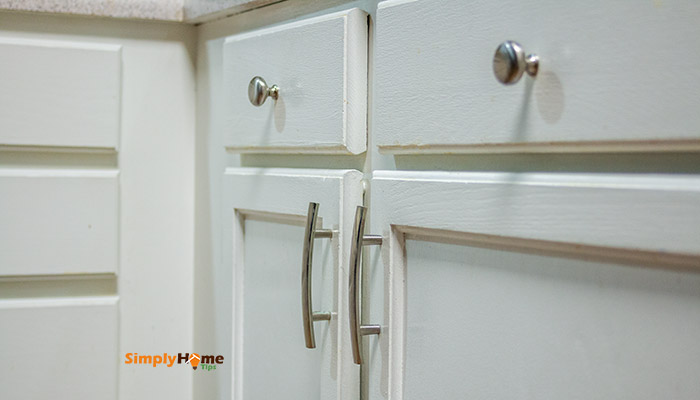
Most of the cabinets that have been installed in the last several years have been the “hardwareless” style. This cabinet style does not use knobs, pulls, and handles, instead opting to use finger grabs at the edges of the doors and drawer fronts. More up to date style trends, however, have returned back to the days of classic hardware and you can update your current cabinets easily with hardware that you can select and purchase from any home improvement retailer, or even from online retail outlets.
If your cabinets already have the hardware, then you can skip down to the part of this article pertaining to installing the hardware. If you need to drill out holes for installation, however, you will need to make a template to assist you in properly positioning the holes.
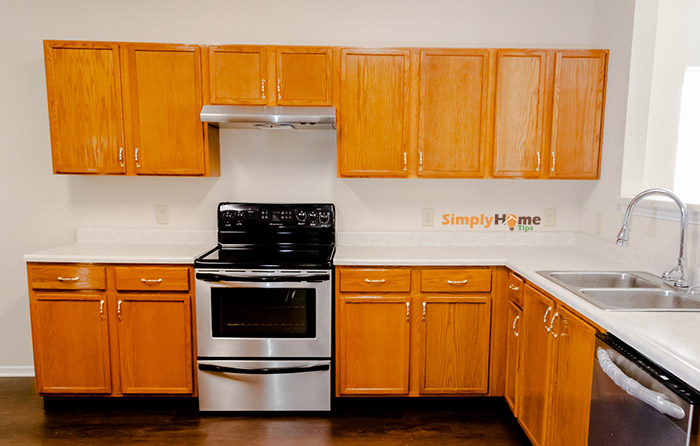
The most important thing to keep in mind when you are doing this kind of kitchen cabinet upgrade is to make sure that you are using proper techniques. Failure to use a little planning, proper tools, and careful execution could lead your project turning into a headache very quickly.
Before you ever start working with the actual cabinet pieces you should take time to do a little pre-work. Taking the time now to plan ahead will ensure that your hardware is properly installed and that your kitchen cabinets with their new hardware will look great after you are done.
Things to Do Before You Get Started
First, you should make a template for installing your new cabinet hardware. This will help to ensure that the hardware is installed in the same position on every drawer or cabinet no matter what size they are. Your kitchen will have a unified look & feel and give a more pleasing appearance. You could buy a cabinet hardware jig or simply just make one to match your style. The process is really simple so look below for information on how to make a template.
Second, you should make sure that you know exactly what size the drill bit that you need to make the mourning holes for your hardware. Using a drill bit that is not of correct size will lead to your hardware slipping or drooping after you have it mounted. Typically, it will be a 3/16 inch drill bit for the average mourning hole.
Make sure that you fully understand how to assemble the hardware pieces once you are ready to mount them. Some handles, knobs, or pulls that are more intricate in their design may have multiple pieces that need to be put together in a certain order. It’s always a good idea to test run the assembly by putting the item together, hand-tight only before you begin drilling and screwing.
Here are all the tools and supplies that you might need for this job:
- Power driver/drill
- 3/16 inch drill bit
- Screw driver
- Scissor
- Carton box
- Speed square or measure tape
- Pencil
1. Making a Template
Making a template to help you with the installation of your hardware is easy. You will need some carton paper or cut out from old boxes, use these to create the template. For the doors, you will only need to make one template as you can just flip it over for the opposite opening cabinets.
- Measure from the bottom and outer-most of the corner where your hardware will be mounted. For example: if you’re working on an upper cabinet left door, then measure from the bottom-up and right-to-left corner to get the width and height.
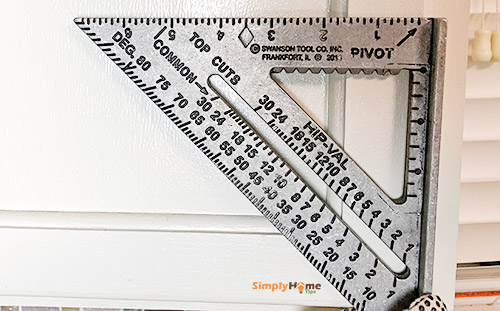
- Use those numbers to draw a rectangle on the carton template. Draw a line to divide that rectangle into two along its length
 .
. - Position the above template over the cabinet door area where you want to drill, use a knob/handle as a guide to mark drilling hole(s) on the carton template.
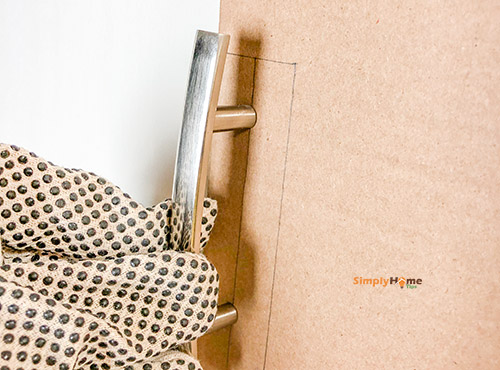
- Drill hole(s) on the carton template.
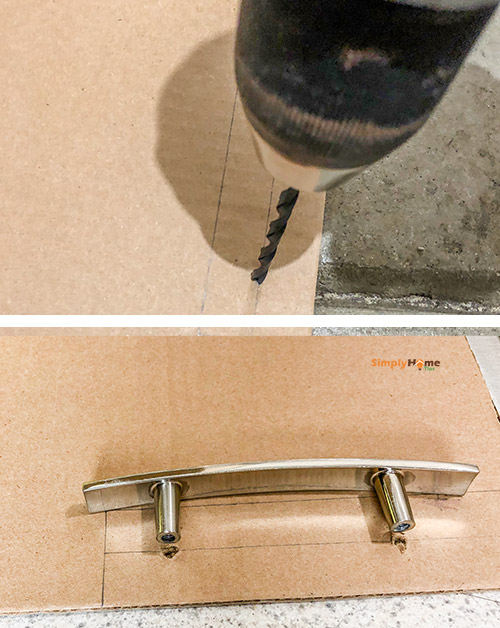
Your drawer will need different template(s) for each drawer size. To make a template for drawer pulls/knobs, follow the steps below:
- Measure the width and height of the front surface of your drawer.
- Draw a rectangle using the above measurement on the template and cut it out.
- Now draw two diagonal lines inside that template. The center joint of these diagonal lines will be where your drilling hole is.
- Drill a hole at the center point.
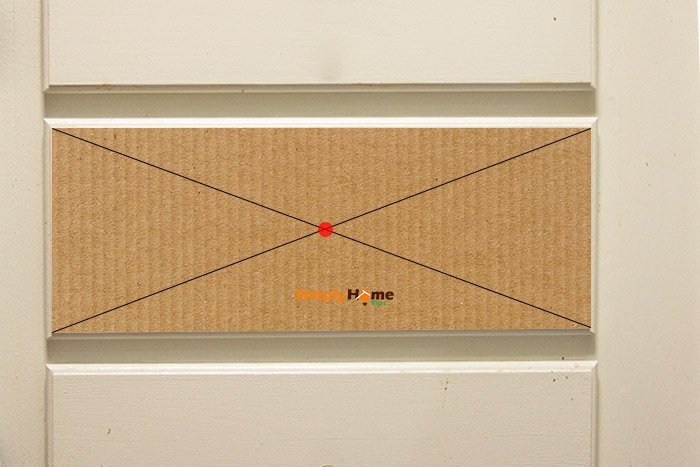
Now you have a template that can be positioned on every drawer front and door to make sure every piece of hardware is mounted in the same position in every working cabinet piece.
2. Drilling Your Mounting Holes
Now that your template is ready, it’s time to drill some holes.
There are two ways to do this. One, you can use a small piece of tape or clamp to hold the template in place over the cabinet door/drawer front. Then you can drill directly through the template and onto the cabinet.
Another way is to use a pencil and mark down the hole(s) from the template through the cabinet’s door/drawer. Then remove the template and just drill through your door/drawer front.
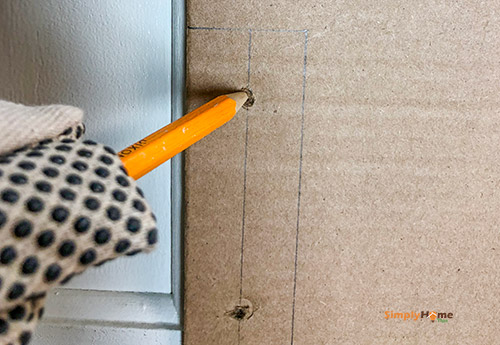
Either way, just drill slow, steady, and carefully. Once all of the holes are drilled it’s time to move on to the final stage of the cabinet upgrade.
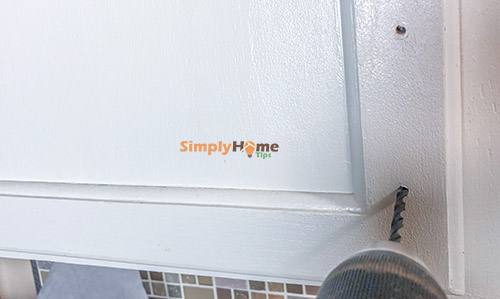
4. Attaching the Hardware
Since you hand-tight pre-assembled all of the hardware components earlier, you just have to take them apart from one by one, put them in place, and then screw them in.
When screwing the hardware in place, make sure that you only tighten until you just feel resistance and then ¼ turn more. If you tighten down too much, you run the risk of either stripping the screw heads, breaking the screw off or cracking the wood of the cabinet piece.
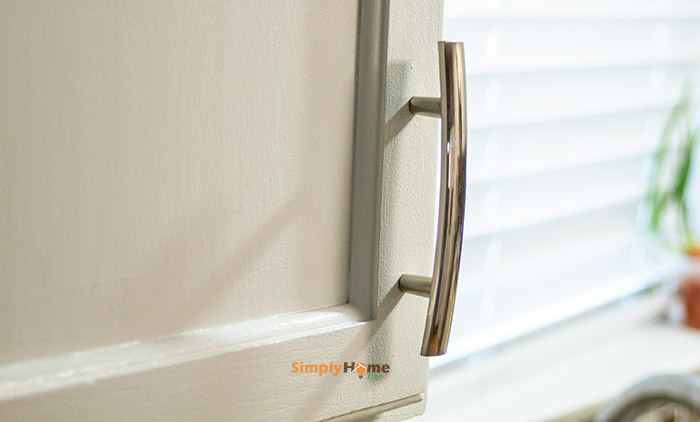
Once you are done, your kitchen cabinets, with their new hardware, will add a fresh look and renewed beauty to your home.
Leave a Reply